Introduction:
Having stimulating toys is essential for the well-being and happiness of pet birds. DIY bird toys not only provide mental and physical stimulation for birds but also offer the satisfaction of creating something unique and tailored to their needs. This step-by-step guide will help you create engaging bird toys that will keep your feathered friend entertained for hours.
Materials and Tools Needed:
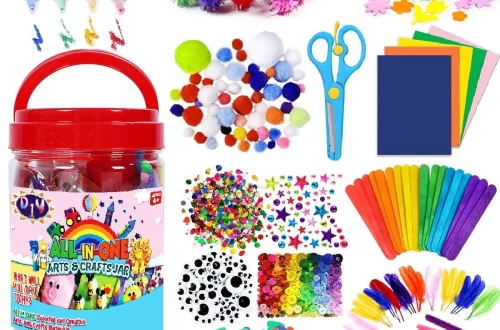
Before you begin making a DIY bird toy, gather the necessary materials and tools. Some essential materials include non-toxic wooden blocks, bells, beads, untreated leather strips, bird-safe ropes, and colorful non-toxic dyes. You may also consider incorporating chewable materials like palm leaves, pine cones, or vine balls. In terms of tools, you will need pliers, scissors, a drill with various-sized bits, and a sturdy string or wire for assembly.
Step-by-Step Instructions for Making a Bird Toy:
Step 1: Choosing a Suitable Base Material
Select a non-toxic wooden block or shape as the base of your bird toy. Ensure that it is of an appropriate size for your bird’s species. The block should be sturdy enough to withstand the bird’s play and chewing habits. You can find pre-cut wooden shapes at craft stores or cut them yourself from untreated wood.
Step 2: Adding Interactive Elements
To make the toy more engaging, attach interactive elements such as bells, beads, or mirrors. Birds are attracted to shiny objects and enjoy the sound produced by bells. Thread these items onto a bird-safe string or wire and securely attach them to the wooden base. Ensure that they are tightly fastened to prevent any choking hazards.
Step 3: Incorporating Chewable Materials
Birds love to chew, so including chewable materials in the toy is crucial. Palm leaves, pine cones, or vine balls are excellent choices. Drill holes into the wooden block and thread the chewable materials through. You can also tie leather strips or bird-safe ropes onto the toy for added variety and texture.
Step 4: Assembling the Toy
Once you have added all the desired elements, it’s time to assemble the toy. Use pliers to secure any loose ends or connections. Ensure that all components are firmly attached and won’t come loose during play. Double-check for any sharp edges or potential hazards that could harm your bird.

Tips for Ensuring Bird Toy Safety and Enjoyment:
1. Bird-Safe Materials:
Always use non-toxic, bird-safe materials when making toys. Avoid using materials that may be harmful if ingested, such as treated wood or toxic dyes. Research bird-safe materials or consult with avian experts to ensure the safety of your bird.
2. Regular Inspection and Cleaning:
Regularly inspect the bird toy for any signs of wear and tear. Birds can be rough on their toys, so make sure to replace or repair damaged parts. Additionally, clean the toys regularly to maintain cleanliness and hygiene.
3. Variety is Key:
Birds, like humans, appreciate variety. Offer a range of toys with different textures, colors, and shapes to keep your bird engaged. Rotate toys periodically to prevent boredom and stimulate their curiosity.
4. Observe and Adapt:
Observe how your bird interacts with the toy. If they show little interest or seem unengaged, modify the toy by adding different elements or changing its placement. Pay attention to your bird’s preferences and adjust the toys accordingly.
By following these step-by-step instructions and implementing the provided tips, you can create safe and stimulating DIY bird toys. The joy of seeing your feathered friend happily playing with a toy you made yourself is truly rewarding. Remember, bird toys are not just entertainment; they also play a crucial role in keeping your bird mentally and physically active, promoting their overall well-being.