Introduction to DIY Toy Soldier Ornaments
Creating DIY toy soldier ornaments is a delightful way to engage in holiday crafting. These ornaments, often reminiscent of traditional Christmas decor, provide a personalized touch to any festive display. What makes these toy soldiers so special is their homemade charm and the joy they can bring to crafters of all ages.
Starting a DIY toy soldier project involves collecting basic supplies, which may include clothespins, acrylic paint, glue, and decorative materials. Each piece is simple to assemble, making this craft ideal for both beginners and experienced crafters alike. Throughout this guide, we will explore various steps to create these charming soldiers, from painting to final touches.
Besides serving as a creative outlet, making toy soldier ornaments can become a cherished family tradition. It allows families to spend quality time together while making something truly unique. These ornaments can also serve as heartfelt gifts or festive additions to your own holiday decor.
In the following sections, we’ll delve into the essential materials required, provide a detailed painting and assembly guide, and offer tips for adding intricate details and customizing your soldiers to perfection. Let’s embark on this creative journey and start crafting those delightful toy soldiers!
Essential Materials for Crafting Toy Soldiers
To begin crafting your own toy soldier ornaments, you’ll first need to gather some essential materials. Each item serves a purpose to bring your festive soldiers to life. Here’s what you’ll need:
- Wooden Clothespins: These form the body of your soldier. You can find them at most craft stores.
- Acrylic Paint: Choose colors like red, blue, yellow, and black for classic toy soldier attire.
- Fine Paintbrushes: For applying paint and adding details.
- Glue: A water-based super glue is recommended for strong, lasting hold.
- Decorative Trims and Ribbons: Gold metallic ribbons or braids add a fancy touch to the uniform.
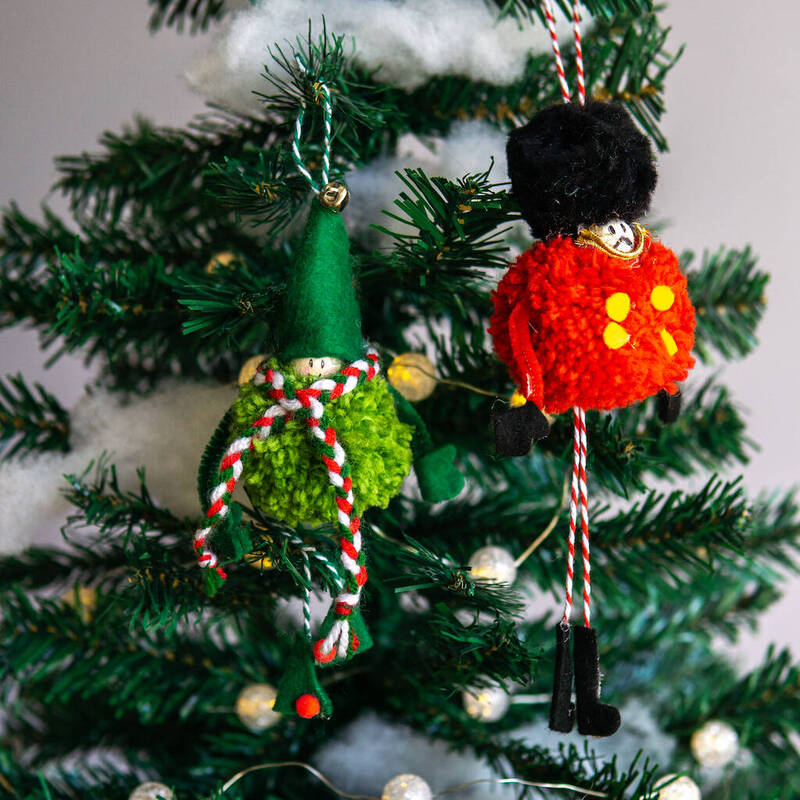
- Pom Poms: These will act as the soldier’s hat on top of the clothespin.
- Scissors and Cutting Tools: Needed for trimming materials and shaping parts of the ornament.
- Sandpaper: To smooth any rough edges on the wood.
- Optional Additions:
- Paint Pens: For easier detailing on the face and uniform.
- Clear Coat Spray: To seal the paint and protect your ornament.
- Sculpey Matte Glaze: To prevent paint bleeding, especially on the face.
- Screw Eyes: If you prefer a more secure hanging loop.
You might find additional decorative items like flat back crystals, wireform, or acrylic spray helpful as well. These can add sparkle and shine to your finished product. With this list in hand, you’re ready to start crafting a whole army of toy soldier ornaments that will stand out on any Christmas tree.
Step-by-Step Guide to Painting and Assembly
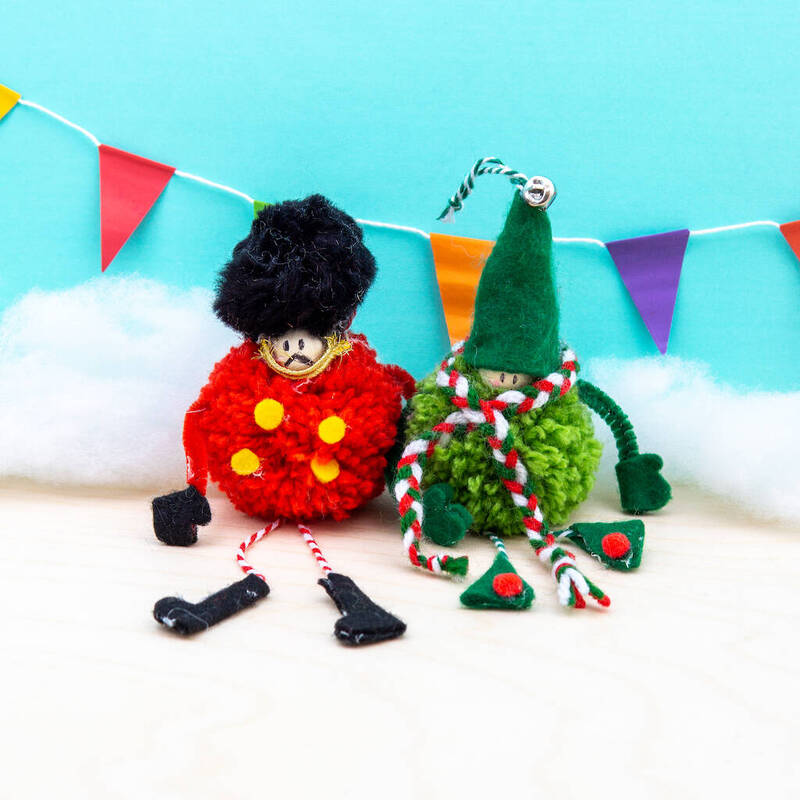
To turn simple materials into a delightful toy soldier ornament, follow this easy step-by-step guide. The process is simple and fun, and the result is a beautiful, handcrafted decoration. Here’s how to do it:
- Prepare the Clothespin: Begin by sanding any rough edges on your wooden clothespin. This step ensures a smooth painting surface.
- Cut and Shape the Arms: Use your scissors or cutting tool to trim the popsicle stick. You need two pieces for the arms. Sand these as well for smooth edges.
- First Coat of Paint: Apply red and blue acrylic paint to mimic the soldier’s uniform. Paint the legs blue from the split of the clothespin down. Then, paint the upper part red for the coat. Allow it to dry.
- Add Facial Details: With a fine brush or paint pen, draw the eyes, mouth, and hair on the clothespin’s round head. Keep the expressions simple. A smile goes a long way!
- Attach the Trims: Glue gold ribbon or braid around the waist for a belt. Then add the shoulder trim, using small dots of glue for a neat finish.
- Glue the Arms: Place a line of glue on each side where the arms will attach. Press the popsicle stick pieces firmly in place. Again, wait for it to dry.
- Top It Off: Glue the pom pom to the top of the clothespin as the soldier’s hat. Match the colors with your paint for a coordinated look.
- Finishing Touches: Optionally, add a clear coat spray or glaze for extra durability and shine.
Remember to let each layer dry completely before moving to the next. This avoids smudging and sticking. The end result is a charming toy soldier ornament, ready to brighten up your holiday decor or become a special gift.
Tips for Gluing and Adding Fine Details
For your toy soldier ornaments to truly stand out, precision in gluing and adding details is key. Here are some tips to help you achieve the perfect finish:
- Choose the Right Glue: A water-based super glue is best. It dries quickly and lasts.
- Apply Sparingly: Use only small glue dots to prevent overflow that can mar the ornament’s look.
- Work in Stages: Stick one part at a time and let it dry before adding another.
- Add Details Gradually: After the basic painting, use fine brushes or paint pens for facial features and uniform accents.
- Create Depth: Layer trims for the chest and waist to give a 3D effect. Cut to size and glue.
- Set the Arms Right: Secure the arms with glue covering the trim too. This keeps them in place.
- Be Patient: Let the glue dry fully before moving to the next step. Rushing may cause pieces to fall off.
These steps ensure your toy soldiers have a neat, detailed look that will last season after season. Happy crafting!
Customizing Your Toy Soldier Ornaments
Customizing your toy soldiers is a fun way to show off your style. Use colors that go well with your holiday theme. Add small details to make each soldier unique. Ribbons, beads, or fabric can add texture. Think about the uniforms. You can mimic historical ones or invent your own. Glue on sequins or gems for a fancy look. Use fabric paint to add patterns like stripes or polka dots.
For a personal touch, write names or dates on the soldiers. Use a fine-tipped marker or a paint pen for this. You could also match the soldiers to your family. Make them look like family members with hair colors, and even glasses!
Safety is important. Choose non-toxic paints and glues, especially when crafting with kids. Work on a covered surface. This keeps things clean and makes cleanup easy.
Remember, there’s no wrong way to decorate your toy soldiers. Let your imagination lead the way!
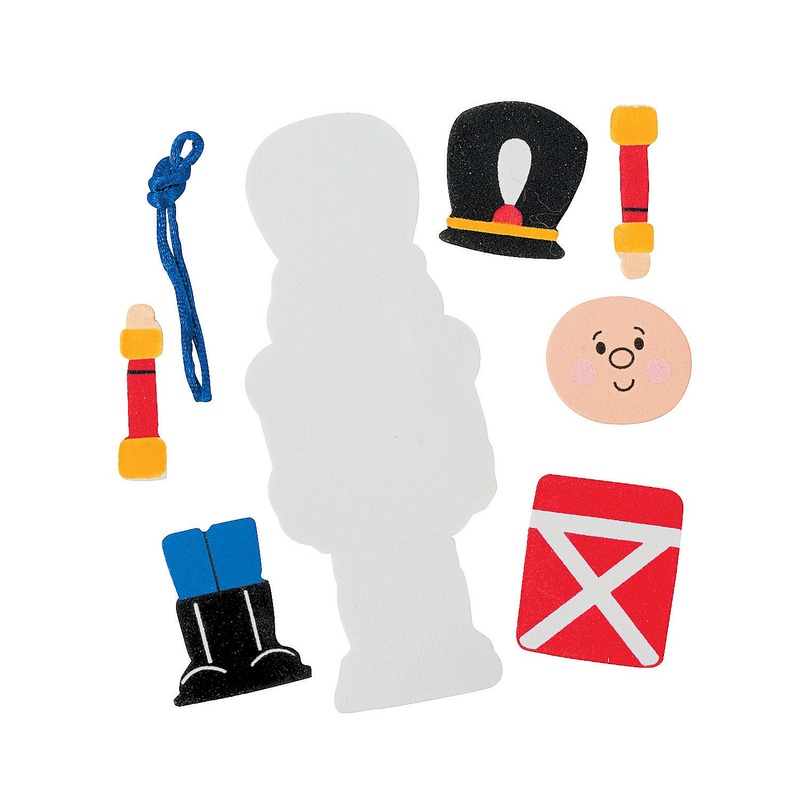
The Hanging Loop: Attaching Your Ornament
A hanging loop is key for displaying your toy soldier ornament. Here’s how to add one successfully:
- Cut the Ribbon: Choose a gold metallic ribbon or braid. Cut it to about 6 inches long.
- Glue the Ends: Fold the ribbon in half to form a loop. Apply a dot of glue to the ends.
- Secure the Loop: Glue the ends to the back of the toy soldier’s head. Make sure it’s centered.
- Check the Placement: The loop should be straight up, so the ornament hangs evenly.
- Let it Dry: Wait for the glue to dry fully before you hang the ornament.
For added strength, you can use a screw eye. Screw it into the top before adding the pom pom hat. Then, loop the ribbon through the eye to hang.
With these steps, your toy soldier ornament gets a strong, neat loop. Hang your ornament on the tree, or on any holiday display.
Creative Variations and Other Craft Ideas
Creating variations on the classic toy soldier ornament can be exciting. Here are some creative ideas:
- Use Different Colors: Don’t stick to red and blue. Try greens, purples, or pastels for a change.
- Vary the Uniforms: Take inspiration from different military eras. Think of Roman soldiers or modern-day uniforms.
- Swap Materials: Instead of ribbon, try lace or leather for belts and straps. Experiment with various materials.
- Add Props: Give your soldier a tiny sword or shield made from craft sticks or foil.
- Theme Your Soldiers: Make a series based on a theme, like the Nutcracker’s troops.
Besides toy soldiers, try these other holiday craft ideas:
- Cardboard Reindeer: Craft a cute reindeer using cardboard and decorate with glitter.
- Beaded Candy Canes: String red and white beads onto a pipe cleaner and shape into candy canes.
- Paper Snowflakes: Fold and cut white paper to make unique snowflake decorations.
- Felt Christmas Trees: Cut out green felt in tree shapes and decorate with sequins as ornaments.
These ideas not only add variety to your holiday crafts but also create a chance for more family fun. Mix and match concepts or try something entirely new – the options are endless!
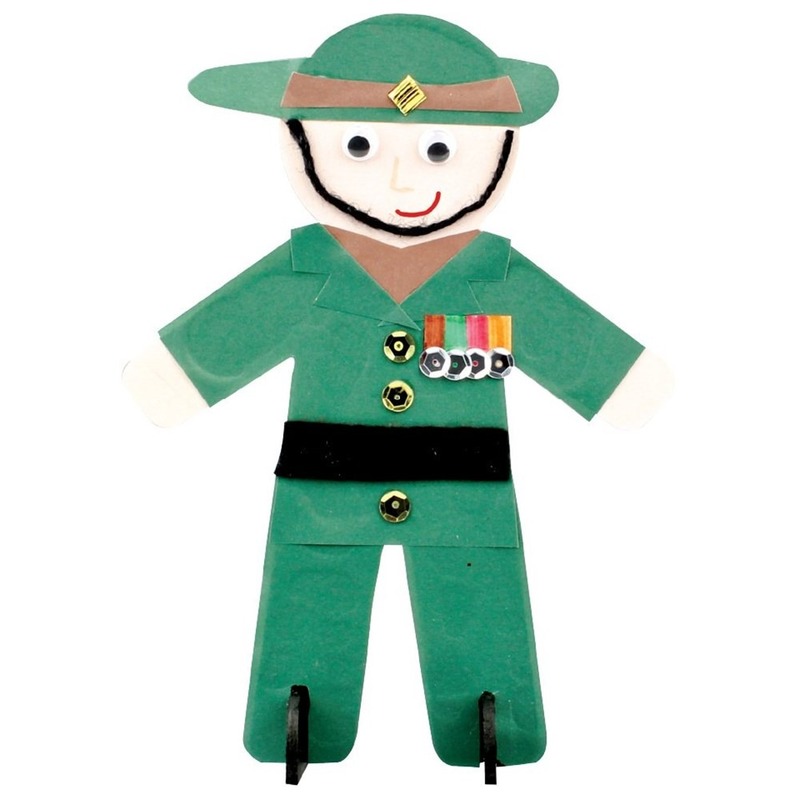
Conclusion: Bringing Holiday Cheer with Homemade Ornaments
Crafting homemade toy soldier ornaments is a joyous activity. It combines creativity, tradition, and holiday spirit. These DIY treasures bring a special warmth to your home. They have that unique, handcrafted feel that off-the-shelf decorations lack.
When you look at the colorful soldiers hanging from the tree, you feel proud. You know each one holds a story, a laugh shared, or a skill learned. They are not just ornaments. They are memories shaped into festive cheer. Your tree becomes a gallery of personal touches.
Gift these soldiers to friends and family. They show thought, effort, and love. They are more than presents; they are your handiwork filled with holiday wishes.
For the little ones, making these ornaments can be an enchanting experience. They learn new skills and the joy of creating. Seeing their creations on display lights up their faces. It teaches them the value of handmade over bought.
Let’s keep spreading joy with these toy soldier craft ideas. Every Christmas, as you unpack and hang your soldier ornaments, you relive the joy of holidays past. You also lay the groundwork for future traditions. Happy crafting and happy holidays!
