Introduction
In recent years, the maker movement has sparked a surge in interest in DIY projects, especially in the realm of robotics. Craft robot are a fascinating intersection of art, technology, and hands-on creativity. These engaging projects captivate the imagination of children and adults alike, offering an opportunity to learn while having fun. Whether used for educational purposes or simply for enjoyment, crafting robots can ignite passion in young builders and seasoned enthusiasts.
Craft robots can take on many forms, from simple creations made of recyclable materials to sophisticated models packed with electronics. Regardless of complexity, each project encourages problem-solving, creative thinking, and collaboration. As parents and guardians explore educational activities for their children, craft robots provide an ideal solution. They blend play with learning, demonstrating that art can coexist beautifully with technology. In this article, we will delve deep into the world of craft robots, exploring their benefits, project ideas, required materials, and step-by-step DIY guides.
What is a Craft Robot?
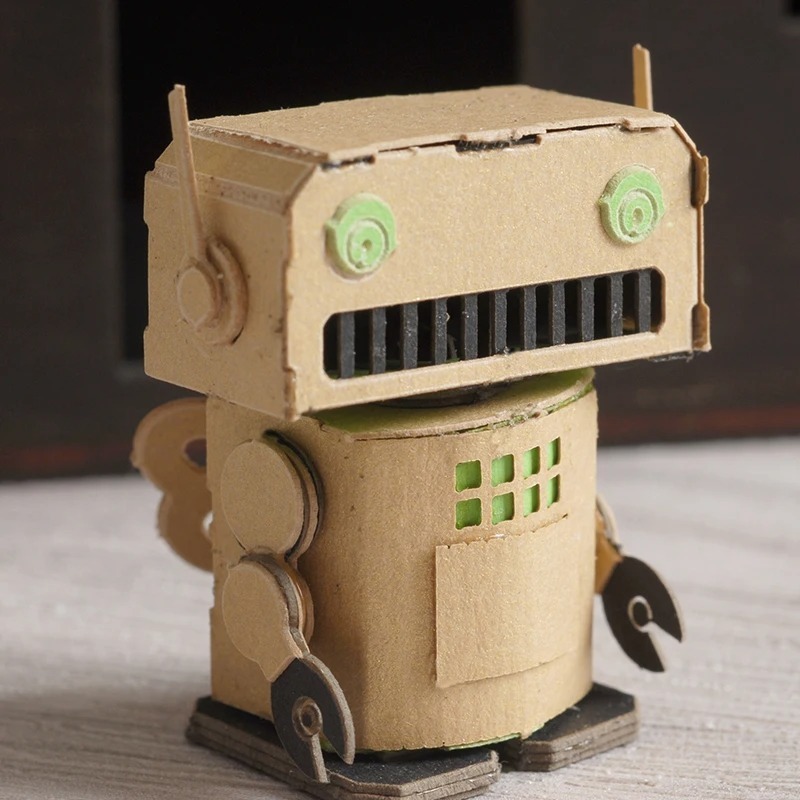
A craft robot is essentially a robot made through creative and artistic expression. It can be constructed using various materials and techniques, allowing for a wide range of designs and functionalities. Craft robots may be simple creations, like a basic moving robot made from cardboard, or complex builds featuring electronic components such as motors, sensors, and programmable elements.
Characteristics of Craft Robots
Craft robots often embody several key characteristics:
– Creativity: The design of a craft robot hinges on the builder’s imagination. Every project can look entirely different based on colors, shapes, and materials used.
– Functionality: Many craft robots have simple functionalities, such as moving, making sounds, or performing tasks. Each robot’s design impacts its versatility and the creativity applied in constructing them.
– Interactivity: With the addition of motors, sensors, and even microcontrollers, craft robots can become interactive. This aspect enhances engagement and adds an exciting dimension to the learning experience.
Examples of Craft Robots
A craft robot can take many forms, including:
– Simple Robotic Arms: Made from cardboard and straw, these can pick up lightweight objects.
– Moving Robots: Using wheels and motors, these can navigate a predetermined path.
– Decorative Robots: Some robots may serve purely decorative purposes, adorned with paint, lights, or other artistic elements.
These versatile projects demonstrate that craft robots can cater to various interests, skill levels, and ages.
Benefits of Creating Craft Robots
Crafting robots offers numerous benefits, particularly in promoting learning and creativity. Here are some advantages of engaging with craft robots:
Educational Benefits
1. Hands-On Learning: Craft robots enable an experiential learning approach. As children build their robots, they encounter challenges that require thoughtful solutions.
2. Problem-Solving Skills: The process of designing and assembling a craft robot necessitates critical thinking. Kids learn to identify problems, brainstorm solutions, and troubleshoot issues.
3. Understanding Basic Robotics: Through building craft robots, children gain insight into essential principles of robotics, electronics, and mechanics. They explore topics such as circuits, movements, and even coding in some cases.
Collaboration and Teamwork
Creating craft robots can promote teamwork and collaboration among peers. Children working on projects together can share ideas, techniques, and problem-solving strategies. Working in groups encourages communication, increases confidence, and enhances social skills.
Creativity and Self-Expression
Artistic expression flourishes through crafting. Children can personalize their robots, instilling a sense of ownership and pride in their work. This creative freedom is essential for developing self-confidence and enhancing imaginative capabilities.
Through crafting robots, children benefit holistically—emotionally, socially, and intellectually.
Types of Craft Robot Projects
Craft robots can vary significantly in complexity and purpose. Here, we explore different types of craft robot projects that cater to diverse skill levels and interests.
Simple Projects for Beginners
For younger children or novices in robotics, consider starting with these simple projects:
1. Paper Plate Robot: Create a fun robot face using a paper plate, googly eyes, and markers. This is an excellent introduction to crafting while providing a chance to discuss robot features.
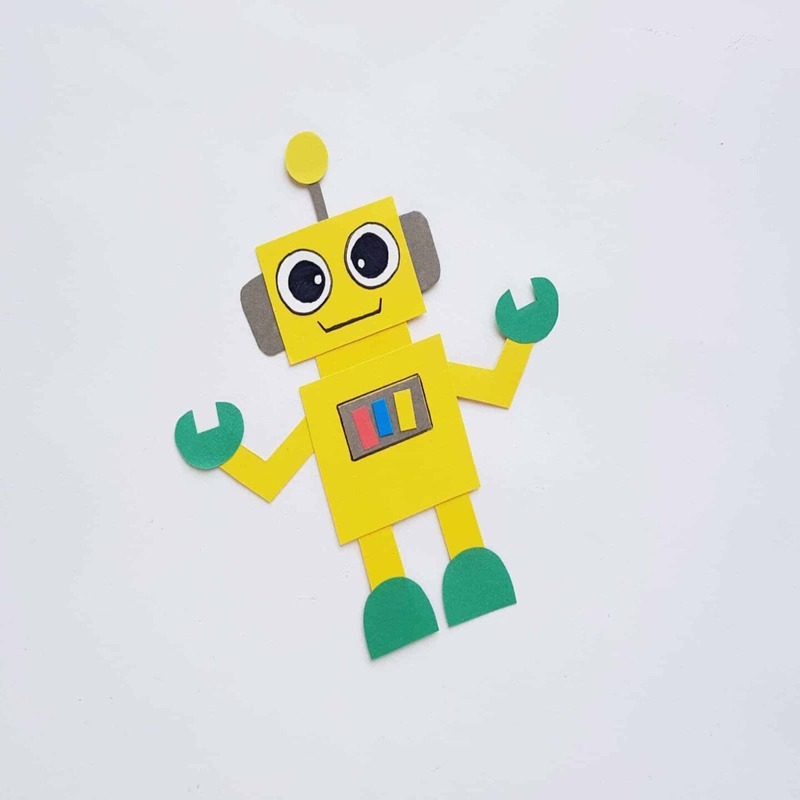
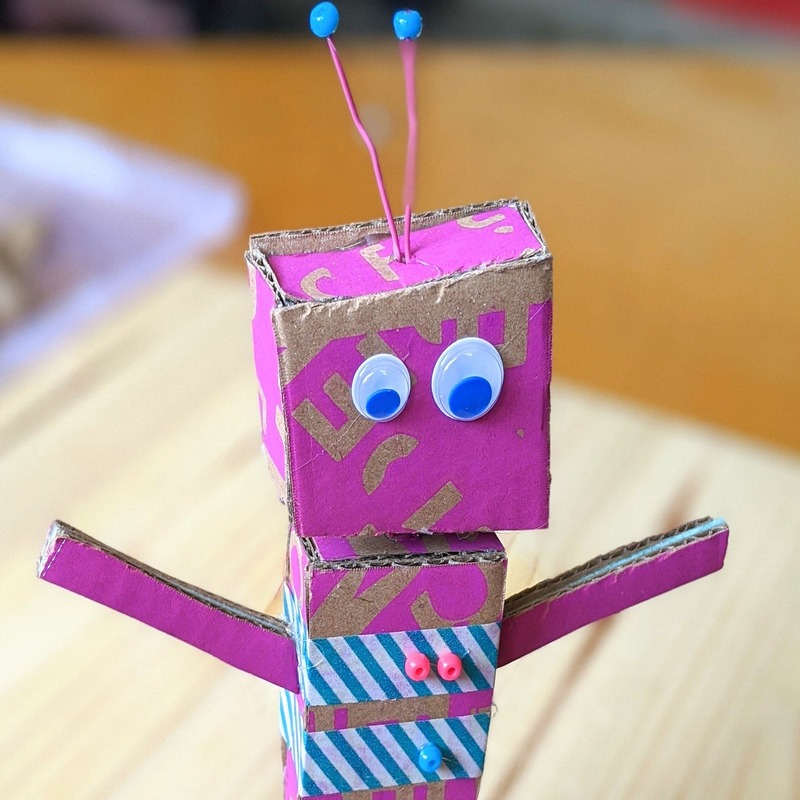
2. Cardboard Box Robot: Using a cardboard box, children can design a robot with arms, legs, and a head. Decorate with paint or stickers to offer a unique and personalized touch.
Intermediate Projects
For those looking for a bit more challenge, intermediate projects might include:
1. Moving Robot Car: Using a small motor, wheels, and a battery pack, create a simple robot car. By following an outlined plan, kids can grasp basic mechanics and enjoy watching their creation in motion.
2. Simple Robotic Arm: Use straws and rubber bands to design a basic robotic arm. This project involves some mechanics, allowing children to understand motor functions while building something exciting.
Advanced Projects
For older kids or more experienced crafters, advanced projects may include:
1. Programmable Robot Kits: Kits like Arduino or LEGO Mindstorms offer an opportunity to build sophisticated robots that users can program. These projects typically require more time, skill, and understanding of coding concepts.
2. Raspberry Pi Robots: Using a Raspberry Pi, builders can create robots with advanced functionalities, such as remote control or vision through cameras. These projects require knowledge of programming, electronics, and robotics.
Encouraging a range of project ideas helps cater to different skill levels and fosters a continuous interest in robotics and crafting.
Materials and Tools Needed
Creating craft robots requires a variety of materials and tools. Here’s a comprehensive list to help you gather everything you need for your projects:
Basic Materials
1. Cardboard: An excellent primary material for building the frame and body of the robot. It’s easily cut and maneuvered.
2. Glue and Adhesives: Hot glue or craft glue will help hold components together securely.
3. Scissors: Scissors are essential for cutting various materials, including cardboard and paper.
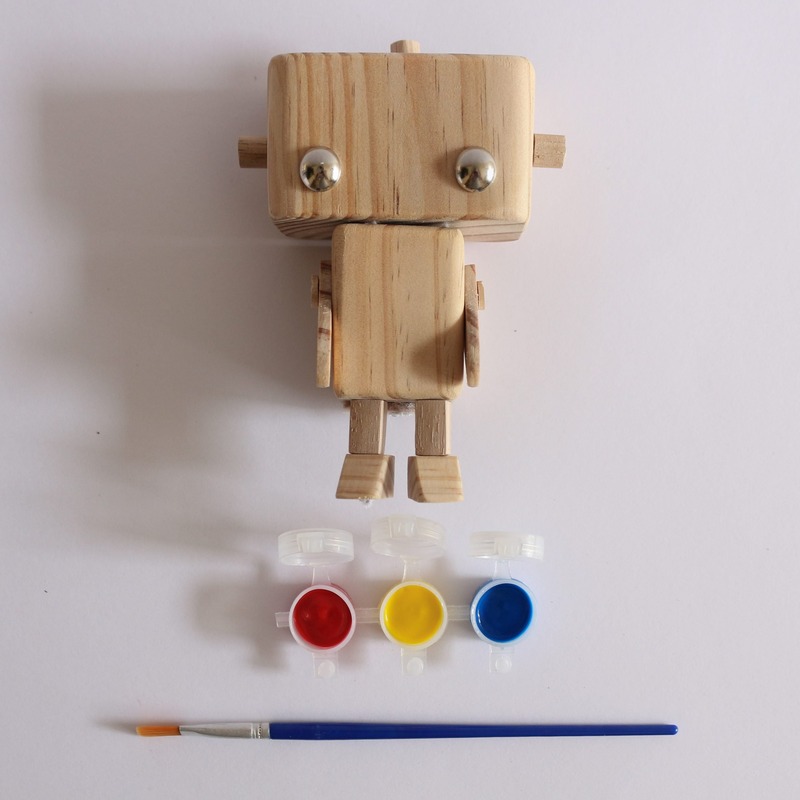
4. Markers and Paints: Use these for decorating your robot and giving it personality.
5. Pipe Cleaners: Perfect for creating flexible arms and antennae.
Electronic Components
1. Motors: Small DC motors or servo motors enable movement and add functionality to projects.
2. Microcontrollers: Depending on the complexity, consider Arduino or Raspberry Pi to incorporate programming and control elements.
3. Battery Packs: These are necessary to supply power to your robots.
4. Sensors: Light, motion, and distance sensors can help make your robot interactive.
Where to Source Materials
You can find most crafting materials at local craft stores or online marketplaces like Amazon. For electronic components, electronics supply stores or specialized websites like Adafruit and SparkFun offer a wide selection.
DIY Craft Robot Projects
Now, let’s explore two detailed DIY craft robot projects. These projects are designed to be engaging and educational, offering step-by-step instructions to create your own craft robots.
Project 1: Simple Cardboard Robot
Materials Needed:
– Cardboard boxes
– Googly eyes
– Markers
– Scissors
– Glue
– Pipe cleaners
Instructions:
1. Create the Body: Use a medium-sized cardboard box for the body of the robot. Cut a hole for the head at the top.
2. Design the Head: Cut another piece of cardboard for the head. Draw a face and attach googly eyes. Glue this onto the body.
3. Add Arms: Cut two long strips of cardboard for arms. Attach them to the sides of the body with glue.
4. Decorate: Use markers and pipe cleaners to personalize the robot, adding features like antennae or accessories.
5. Finish: Allow the glue to dry, and your cardboard robot is ready for display!
Project 2: Moving Robot Car
Materials Needed:
– Small DC motor
– Plastic wheels
– Battery pack
– Cardboard
– Tape or glue
– Wires
Instructions:
1. Build the Base: Cut a piece of cardboard to serve as the robot’s base. Securely attach two plastic wheels to the base.
2. Install the Motor: Attach the DC motor to one of the axles so that when the motor spins, it turns the wheels.
3. Connect the Battery Pack: Wire the battery pack to the motor. Ensure you connect the wires correctly to power the motor.
4. Test Movement: Turn on the battery pack to test if the wheels spin. Make adjustments if necessary.
5. Decorate: Use additional materials to personalize the robot car’s body.
By following these projects and sharing your creations, the joy of crafting can blossom into learning experiences.
Conclusion
Creating a craft robot offers a delightful way to blend art, creativity, and basic engineering principles. Engaging with these fun projects provides numerous educational benefits, including enhancing problem-solving skills and collaboration among peers. Craft robots cultivate creativity and inspire young builders to explore the world of technology.
Whether you’re a parent, educator, or DIY enthusiast, the realm of craft robots is filled with endless possibilities. From simple designs that ignite initial interest to more advanced projects that challenge seasoned crafters, there’s something for everyone.
Encourage exploration and experimentation in crafting, and be sure to share the wonderful creations made along the way. Dive into the world of craft robots today, and watch the magic of robotics unfold!
