Introduction to Toy Story Bookmarks
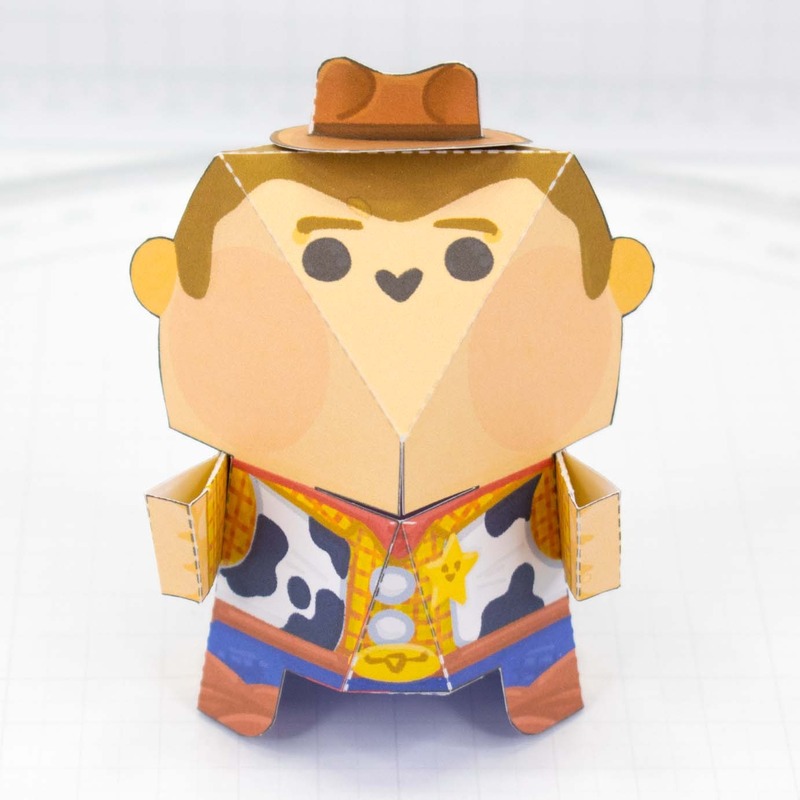
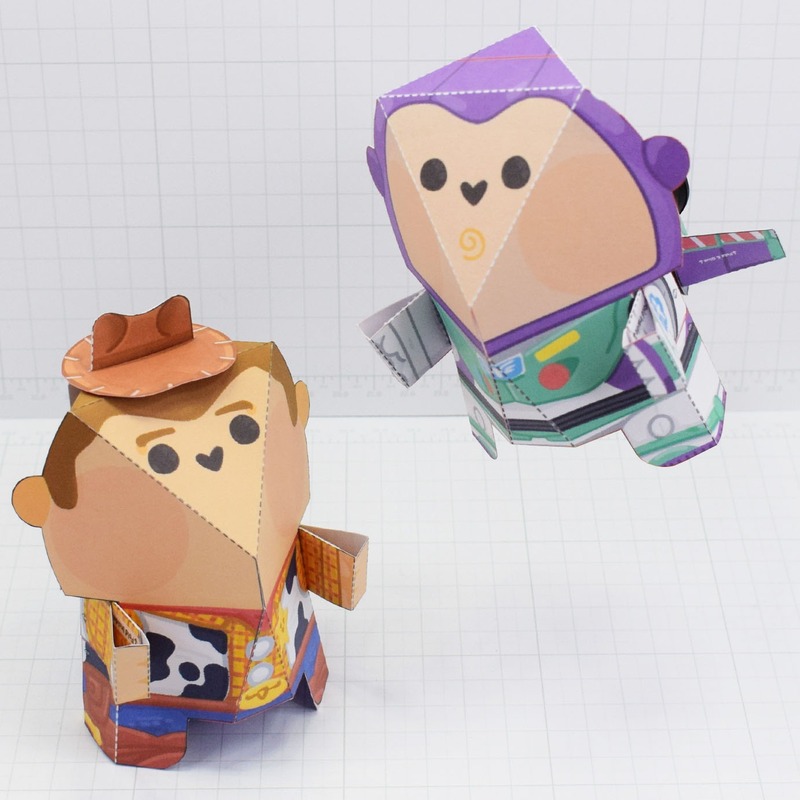
Toy Story bookmarks bring the beloved characters to your reading nook in an adorable, crafty form. Using simple paper crafting techniques, anyone from kids to adults can create these delightful markers that not only hold a place in your favorite book but also add a touch of whimsy to your reading adventure.Learn how to create fun Toy Story paper craft!
Materials Needed
To embark on crafting your own Toy Story bookmarks, you’ll need a selection of basic and vibrant crafting supplies. Essential materials include colored cardstock prominently in shades associated with characters like Woody, Alien, and Forky. Googly eyes of various sizes will bring your characters to life, while extra-strong glue ensures they stay together. Sharpies or markers in black and blue are crucial for adding detailed touches to your creations. Moreover, having a good pair of scissors and access to a printer for templates is indispensable. With these materials at hand, you’re ready to proceed with crafting your unique bookmarks inspired by Toy Story.
Step-by-Step Guide to Crafting Toy Story Bookmarks
Once you have gathered all the materials, follow this simple guide to bring your favorite Toy Story characters to life as bookmarks. This activity is perfect for a rainy day or a creative afternoon with the kids. Here’s how to make them step by step.
Printing and Cutting the Template
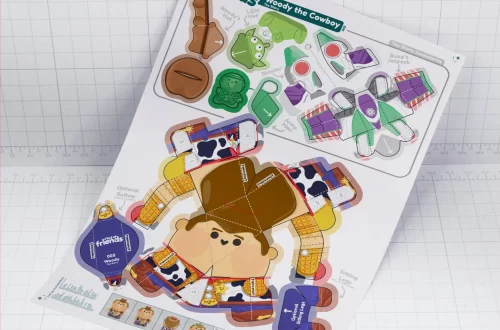
- Start by printing the templates for Woody, Forky, and the Alien. Ensure your printer is set to high quality for the best results.
- Use the scissors to carefully cut out the template shapes. Remember to cut inside the lines for a cleaner look.
- Choose the right colors of cardstock for each character. Woody needs beige, brown, blue, red, and more.
Assembling the Bookmark Characters
- Begin with Woody. Glue his clothes onto his body, starting with the larger pieces first.
- Next, create Forky with white and red cardstock, adhering the pieces to form his spork-shaped body.
- For the Alien, attach the neon green cardstock pieces together. Remember, it needs three eyes!
- Let the glue dry completely before moving to the next step, which involves adding character details.
By following these simple steps, your Toy Story paper crafts will start to take on a life of their own. Grab your supplies, and let’s dive into the next phase of adding unique touches to each character!
Character-Specific Details
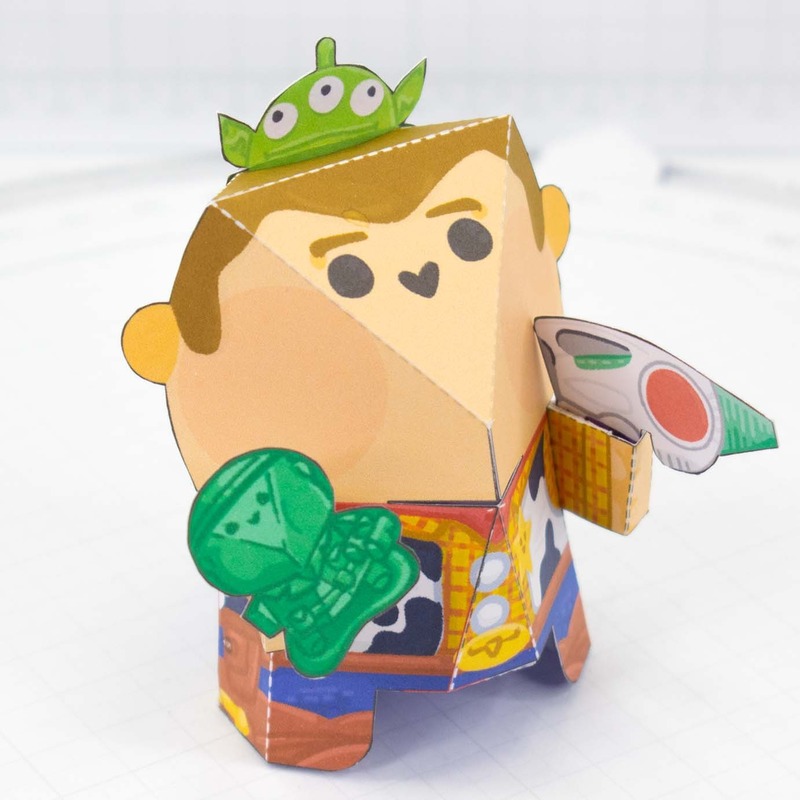
To make each Toy Story paper craft bookmark truly unique, focus on the distinctive elements that define Woody, Forky, and the Alien. Character-specific details will transform simple cardstock into vibrant, recognizable figures from the popular movie.
Customizing Woody
For Woody, use a black pen to draw his iconic cow spots on the vest. A brown marker can add the stitched lines on his jeans. Don’t forget his yellow sheriff’s badge! Carefully sketch his facial features with a black pen, paying attention to his characteristic smile and narrow eyes.
Creating Forky
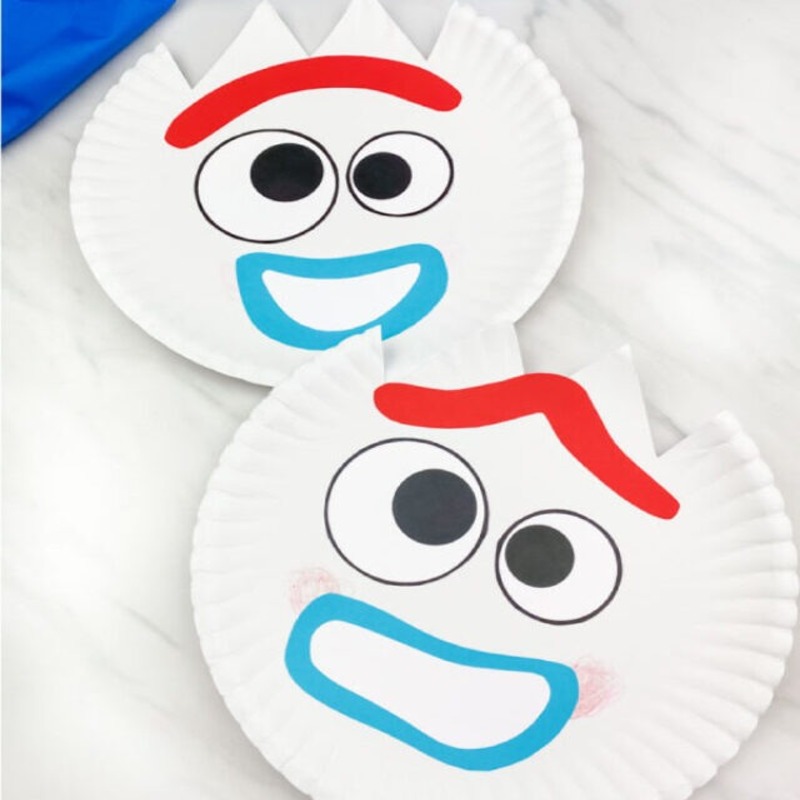
With Forky, variety in googly eye size is key to his quirky look. Glue the smaller eye slightly above the larger one. Use light beige cardstock for his unibrow and red for his expressive mouth. Drawing his mouth with a blue marker can give him that animated appearance you’re aiming for.
Designing the Alien
The Alien’s defining feature is its trio of eyes. Glue three evenly-sized googly eyes in a row on its head. For his uniform, cut out the appropriate blue and purple cardstock according to the template. Add a simple smile with a black sharpie or marker to complete his friendly face.
Diligently work on each character, paying attention to these details to ensure your Toy Story paper craft bookmark stands out. Happy crafting!
Essential Crafting Supplies for Toy Story Bookmarks
When crafting your Toy Story bookmarks, certain supplies are essential. These not only enable a smoother creative process but also ensure a durable and vibrant end product. Here’s a detailed breakdown of what you’ll need to bring Woody, Forky, and the Alien to life.
Types of Cardstock and Colors
Choosing the right types of cardstock and colors is crucial for your Toy Story paper crafts. Each character has a palette that matches their appearance in the films:
- Woody: Light beige for his face and hands, brown and yellow for his outfit, and blue for his jeans. Red and white are also needed for smaller details.
- Forky: Predominantly white since he’s a spork, with red for his eyebrow and rainbow details on his feet.
- Alien: Neon green is the base, with blue and purple for his space suit.
Ensure the cardstock is sturdy enough to hold the shape and bear the glue without warping.
Adhesives and Tools
Proper adhesion is key to ensuring that the bookmarks last a long time. Here is a list of necessary adhesives and tools:
- Extra-strong glue: This will hold the pieces together securely.
- Scissors: A sharp pair will help you cut your templates precisely.
- Markers and pens: Blue and black markers are essential for adding details like Forky’s mouth or Woody’s vest.
Adhesives and cutting tools should be quality-checked to avoid any crafting mishaps. Always have extra glue and a couple of spare scissors handy, just in case.
With the right cardstock, vibrant colors, and reliable tools, your Toy Story bookmarks will not only look fantastic but also stand the test of time. Get ready to craft items that are as functional as they are fun to make.
Additional Decorative Tips
After assembling the basic shapes of your Toy Story paper craft bookmarks, it’s time to add flair. Decorative elements make each bookmark special and true to the Toy Story theme.
Enhancing with Drawing and Details
Once the structural parts of your bookmarks are set, the fun begins with enhancing each character’s unique traits:
- Woody: Add lines to his vest with a black sharpie to mimic cowhide patterns. Use colored markers to fill in his badge and belt.
- Forky: With a blue marker, draw his mouth to capture his wide smile. Place his red eyebrow above the eyes for expression.
- Alien: Outline the Alien’s ears and antennae with a purple sharpie for depth. Use a blue marker for his suit’s details.
Drawing and adding details bring your bookmarks to life. Take your time with each character to achieve the best result.
Concluding Your Toy Story Bookmark Project
After meticulously crafting each character for your Toy Story bookmarks, it’s time to put the final touches on your project. The completion of these bookmarks not only offers a sense of accomplishment but also yields charming accessories for any book lover. This stage involves a final assembly. Make sure each character is boldly represented with all the unique details.
Final Assembly and Presentation
- Once all pieces are securely glued and details are added, lay out each bookmark. Review them for any missing elements or touch-ups needed. The correct representation of each character plays a key role.
- Arrange the bookmarks in a fan shape on a flat surface to assess their final look. Each bookmark should capture the spirit of the Toy Story character it represents.
- Consider mounting each bookmark on a decorative cardstock backing. This not only enhances its appearance but also adds durability. Pick colors that complement or contrast nicely with your Toy Story characters.
- If these bookmarks are gifts, you can personalize them further. Write a small note or the recipient’s name on the back. This makes each bookmark a thoughtful and personalized gift.
- Finally, take a moment to appreciate your handiwork. These bookmarks are not just functional; they are a testament to your creativity and love for Toy Story.
By ensuring proper assembly and presenting them beautifully, your Toy Story paper craft bookmarks will become a delightful addition to any reading session. Now, get ready to use them or give them away to fellow Toy Story enthusiasts!
