Get ready to unleash your inner Andy and craft your way into the world of Toy Story! These fun and easy DIY projects are inspired by the beloved characters and their iconic features. With a little creativity and some recycled materials, you can create unforgettable Toy Story masterpieces.
Part 1: Woody’s Roundup Crafts
1. Woody’s Wanted Poster:
Who’s the rootin’ tootin’est cowboy in the room? You are, of course! Recreate Woody’s “wanted” poster with a fun twist. Find a picture of yourself (or your friend) and print it out in black and white. Glue it onto a red piece of construction paper. Cut out brown construction paper shapes for a sheriff’s hat and a mustache. Glue them onto your picture. Write a playful message like “Wanted: Super Sheriff [Your Name]” and decorate the poster with stars and sheriff badges.
2. Howdy Partner! Design Your Own Bandana:
Bandanas are a staple accessory for any cowboy, and Woody is no exception. Create your own bandana using fabric paint or markers. Cut a square bandana size out of white fabric or an old t-shirt. Fold the bandana in half diagonally to create a triangle. Use stencils or freehand drawing to decorate the bandana with red and yellow designs. Add your name or a sheriff’s star for a personalized touch.
Part 2: Lightspeed Crafting with Buzz Lightyear
1. Buzz Lightyear Utility Belt:
Buzz Lightyear is always prepared for any adventure, and now you can be too! Craft your own utility belt using felt or fabric scraps. Cut a long rectangle of green felt or fabric and another smaller rectangle of yellow for the buckle. Attach the buckle to one end of the green strip. Cut out smaller shapes for tools and gadgets like a communicator, laser, and rockets. Glue or sew these shapes onto the belt. Now you’re ready to save the day!
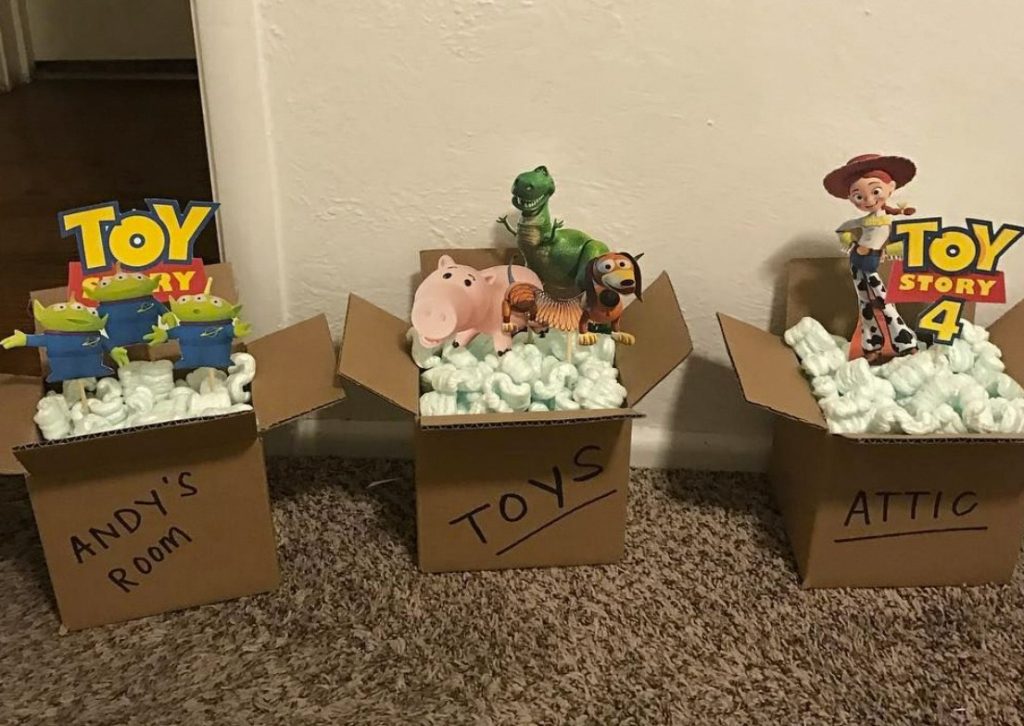
2. Buzz Lightyear Space Ship Play Box:
Transform a cardboard box into Buzz Lightyear’s spaceship! Paint the entire box a bright green. Cut out shapes for the wings and control panels from cardboard scraps and paint them white, blue, and red. Glue them onto the box. Use markers or paint to add details like buttons, lights, and a green and yellow “Z” symbol. Cut a door on the side of the box for easy access. Your very own spaceship is ready for launch!
Part 3: You’ve Got a Craft in Me: Jessie & Rex
1. Jessie’s Yodeling Microphone:
Unleash your inner Jessie by creating a delightful microphone craft inspired by the spirited cowgirl herself. Begin by locating an empty paper towel roll or toilet paper roll and painting it white to serve as the microphone’s body. Next, cut out a red circle, which will act as the base of the microphone, and affix it to one end of the roll. To further capture the essence of Jessie’s whimsical style, cut out a silver star and glue it onto the red circle. Adding an extra touch of authenticity, decorate the roll with yellow and black stripes, evoking the classic design associated with Jessie’s character.
For a charming flourish, consider attaching red yarn fringe at the bottom to provide an additional burst of flair and personality. This enjoyable DIY project not only pays homage to the beloved Toy Story character but also offers a fun and creative way to infuse your surroundings with a touch of western charm. Embrace the opportunity to express your creativity and bring a piece of the Toy Story universe to life by crafting your very own playful and distinctive Jessie-inspired microphone. Gather your materials and let your imagination soar as you embark on this delightful crafting adventure.
2. Rex’s Roaring Paper Plate Mask:
Rex may be scared of a lot of things, but he sure loves to play! Create a fun and easy Rex mask using a paper plate. Paint the paper plate green and let it dry. Cut out large oval shapes for Rex’s eyes from white paper and color black pupils in the center. Glue the eyes onto the paper plate. Cut out sharp teeth from white paper and glue them along the bottom edge of the plate. Add pink felt for Rex’s tongue and attach a pipe cleaner strap to each side of the plate for wearing.
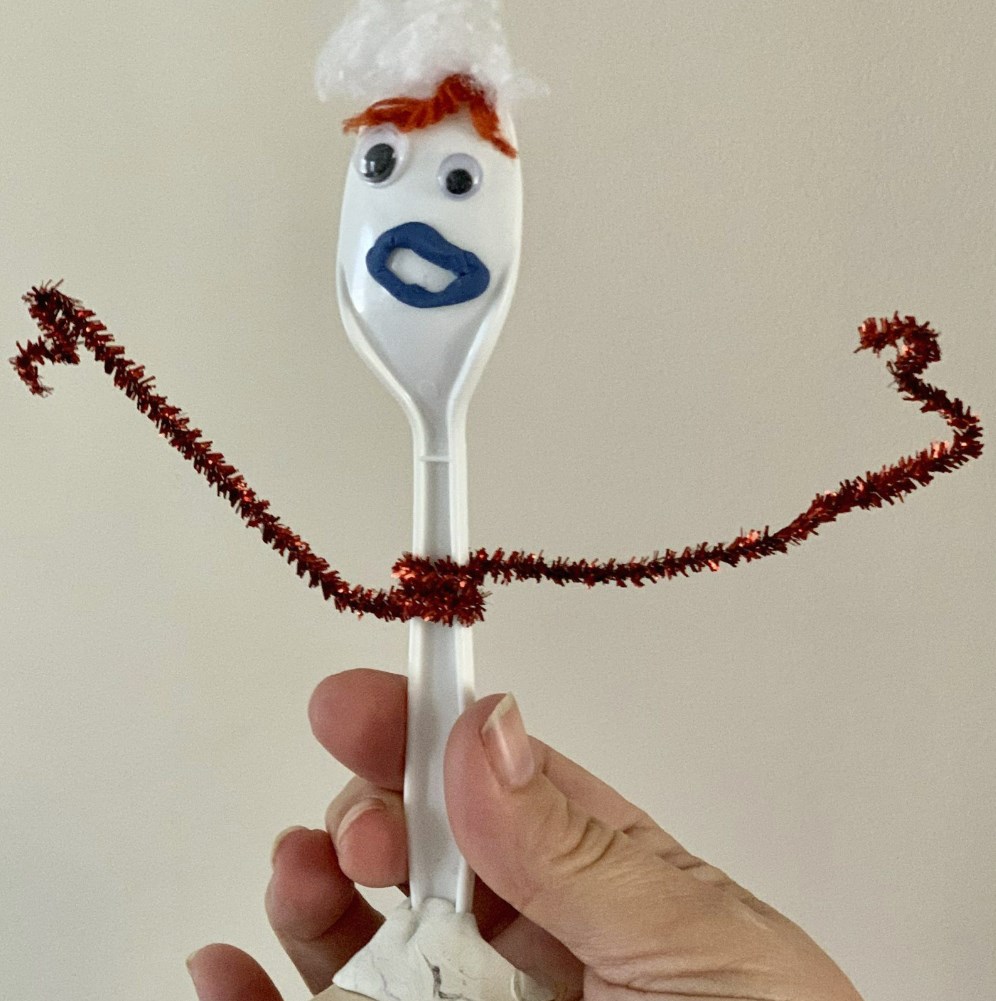
Part 4: Forky Asks a Question: Creative Cardboard Crafts
1. Hamm’s Piggy Bank:
While Hamm from Toy Story may be a literal piggy bank, you can easily create your own version using a simple cardboard box. To start, locate a small to medium-sized cardboard box and paint it in a charming shade of pink to capture the essence of a traditional piggy bank. Next, cut out a pig’s snout, ears, and a curly tail from pink felt and affix them to the appropriate areas of the box using glue, infusing your creation with the endearing features of a piggy bank.
Further enhance the piggy bank’s appearance by adding details such as eyes, a curly nose, and hooves using black paint or a marker to create a playful and lifelike expression. Lastly, carve out a coin slot in the top of the box to facilitate easy saving. This fun and imaginative DIY project not only pays homage to a beloved character from Toy Story but also offers a delightful way to encourage saving and add a touch of whimsy to your home.
2. Slinky Dog on the Move! Cardboard Tube Craft:
Slinky Dog is always up for an adventure! Recreate his playful coils with a cardboard tube. Paint a long cardboard tube green. Cut out long, thin strips of yellow construction paper. Tape or glue one end of a yellow strip to the end of the cardboard tube. Wrap the yellow paper in a spiral pattern around the tube, leaving small spaces between each coil. Secure the other end of the yellow paper with tape. Cut out a green dog head with floppy ears and glue it to one end of the green cardboard tube. Add black eyes, a red nose, and a playful smile with paint or markers. Now Slinky Dog can join in on all your Toy Story fun!
These are just a few ideas to get you started. With a little imagination and some recycled materials, the possibilities for Toy Story crafts are endless! Remember, the most important thing is to have fun and unleash your inner Andy. So grab your craft supplies, put on some Toy Story music, and get ready to create some magical memories!