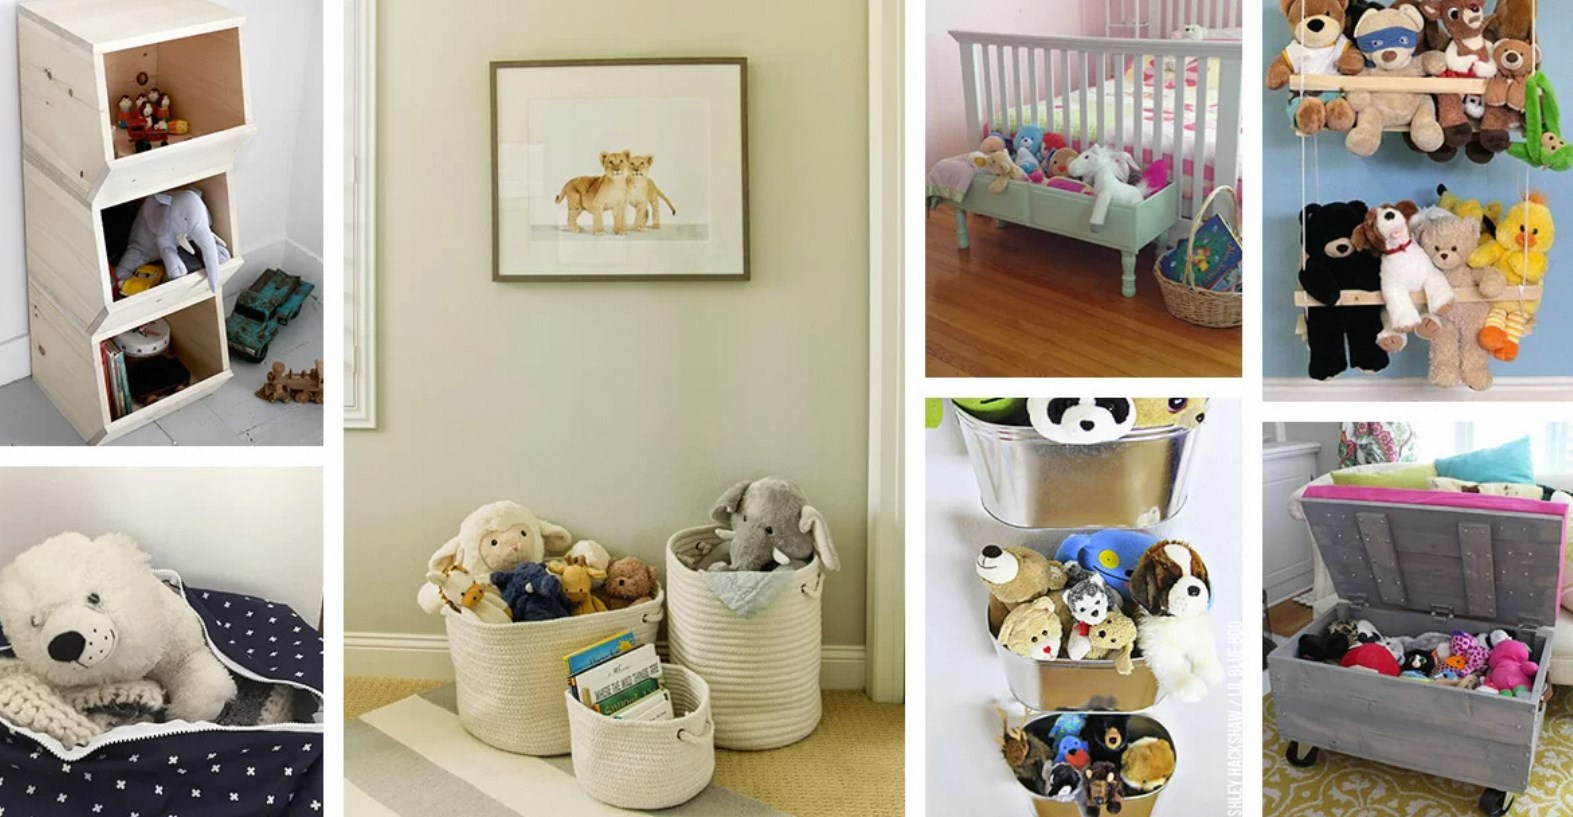
Does your child’s room resemble a plushie avalanche? Stuffed animals, those cherished companions, often end up scattered on the floor. Fear not, fellow parent! This article presents four delightful ways to create a hammock for stuffed animals, transforming your child’s room into a haven of organized cuteness.
Part 1: Upcycled Elegance – Two Easy No-Sew Options
Fitted Sheet Marvel:
Tired of stuffed animals overflowing your child’s room? Breathe new life into an old fitted sheet and create a cozy hammock in minutes! Choose a sturdy sheet that can handle the weight of your child’s plushy pals. With a pair of scissors, simply cut two long strips of fabric from the fitted corners. Find some sturdy hooks and mount them securely on the wall. Next, tie the fabric strips to the hooks, creating a comfortable hammock for all their cuddly companions. This quick and easy project is a win-win: it declutters the room and provides a delightful spot for stuffed animals to relax!
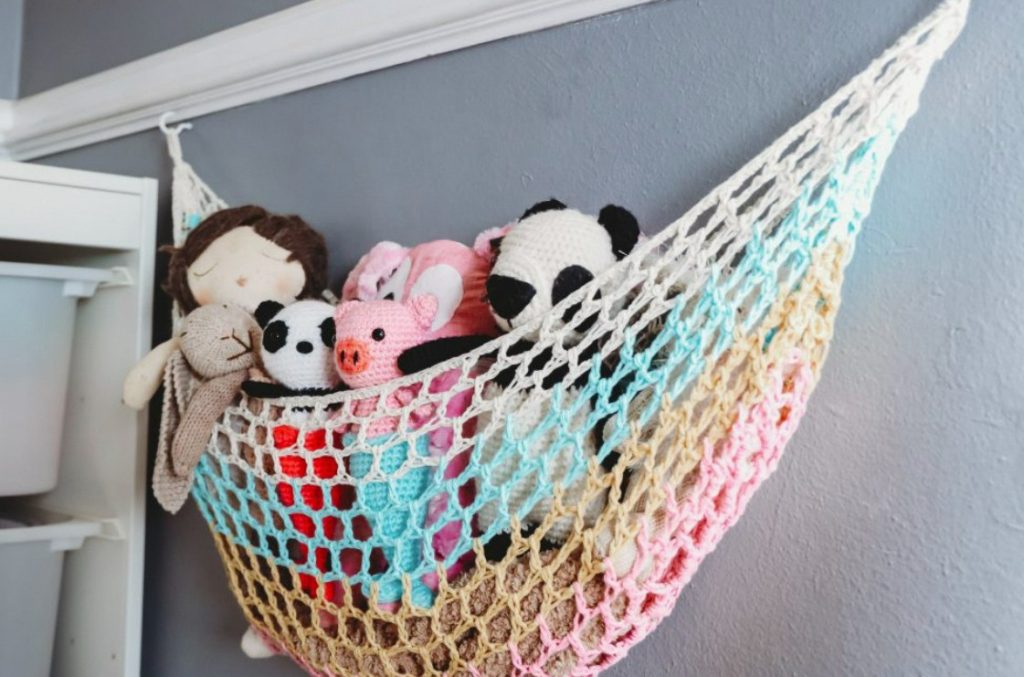
Net Haven:
Craft a one-of-a-kind hammock for your child’s stuffed animals with netting fabric! Unleash your inner designer and find a large piece of netting in a color or pattern that complements your child’s room. Using fabric glue, securely attach two ribbons or sturdy strings to opposite ends of the netting. Imagine the delight on your child’s face as you create a whimsical hanging shelf for their cuddly companions. Find the perfect spot on the wall and mount some sturdy hooks. Voila! Now hang the netting using the ribbons or strings, creating a gentle cradle for your child’s beloved plushies. This whimsical hammock adds a touch of magic to your child’s room and keeps their stuffed animal collection neatly organized.
Part 2: Sewing Savvy – Two Projects for the Crafty Parent
T-Shirt Transformation:
Give a beloved old t-shirt a new purpose! This option creates a hammock with a netted body, perfect for holding even the smallest plushie. Cut three triangular pieces from the t-shirt, one large for the base and two smaller for the hanging loops. Braid the bottom edges of the triangles together, creating a net-like structure. Sew the assembled pieces together, leaving openings for the hanging loops. Attach ribbon or sturdy string to the loops and hang your charming creation!
Fabric Fun:
For a more classic hammock design, grab some fabric and your sewing machine. Cut two large rectangles of fabric, then fold over and sew the short edges to create a finished look. Next, cut two long strips of fabric for the hanging loops. Fold these strips in half lengthwise and sew along the open edge. Attach the loops to the top corners of your large rectangles, ensuring even placement. Sew the top raw edges of the rectangles together, leaving openings for the loops to slide through. Voila! A sturdy and stylish hammock for your child’s room.
Part 3: Customization Corner – Make it Your Own!
Now that you have a basic hammock design, unleash your creativity! Here are some ideas to personalize your creation:
Themed Fabrics:
When selecting a fabric for your child’s room decor or for their favorite characters, consider choosing one that complements the existing theme. Imagine a princess-themed hammock adorned with soft, pink fabric and sparkly ribbon accents, creating a dreamy and enchanting space fit for royalty. Alternatively, picture a superhero haven featuring bold, graphic fabric, evoking a dynamic and action-packed atmosphere that captures the essence of their favorite characters. By matching the fabric to your child’s interests and room decor, you can create a cohesive and visually appealing environment that reflects their unique preferences and personality. Whether it’s a whimsical princess theme or an adventurous superhero motif, the right fabric can enhance the overall aesthetic of the room and provide a delightful and personalized space for your child to enjoy and feel at home in.
Embellishments:
Absolutely! In addition to the hammock itself, you can personalize it to match your child’s interests and create a truly special display. Sew on little pockets to hold smaller stuffed animals, or add decorative buttons and patches for a unique touch. Feeling nautical? Create miniature flags and attach them to the hanging loops for a playful maritime theme. With a little creativity, you can transform a simple hammock into a whimsical and cherished part of your child’s room.
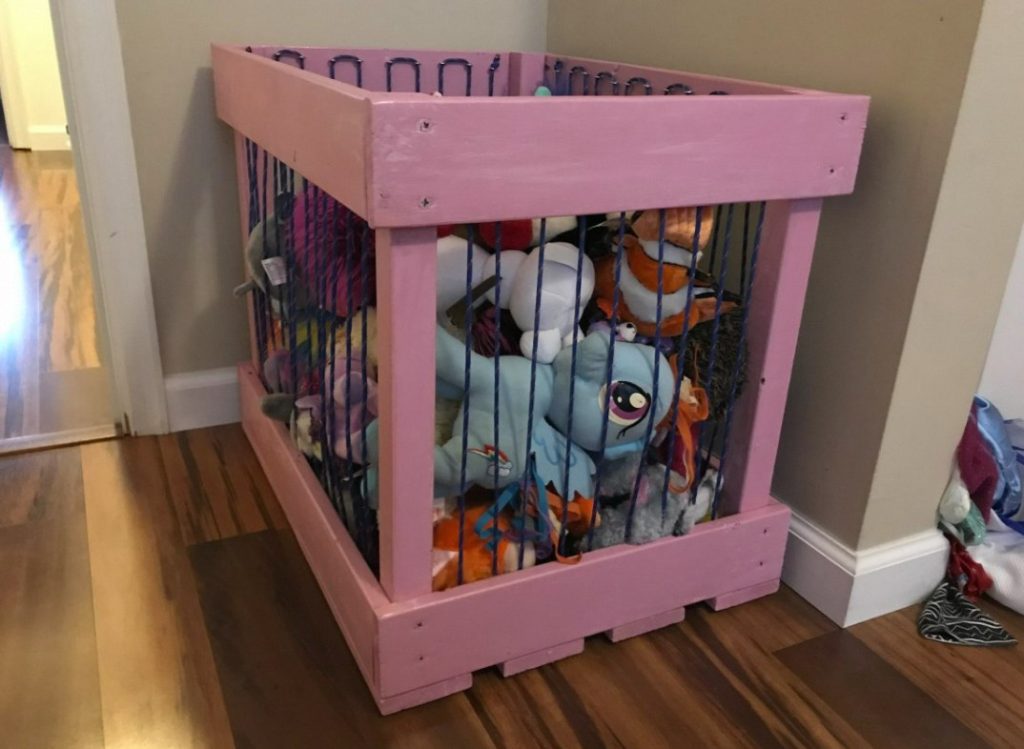
Part 4: Beyond the Hammock – Storage Solutions with Flair
While hammocks are a fantastic way to display stuffed animals, here are a couple of bonus ideas for keeping your child’s room organized:
Giant Pockets:
Give your child’s stuffed animal collection a designated home with these adorable wall pockets! Grab some sturdy fabric, like canvas or denim, and cut out large rectangles. Use your sewing skills to create big, roomy pockets – perfect for housing even the largest plushie. Let your creativity flow! You can make the pockets all the same size or mix things up for a playful look. Once sewn, don’t forget to add a sturdy hanging mechanism at the top. This could be a ribbon sewn securely to the back of each pocket, or a dowel rod with fabric loops attached at each end. Mount the hanging mechanism on the wall, and your pockets are ready for action! This solution not only keeps stuffed animals off the floor but also creates a charming display that adds a touch of whimsy to your child’s room.
Repurposed Basket Bonanza:

Does an old basket gather dust in your corner? Repurpose it into a delightful haven for your child’s smaller stuffed animals! With a little creativity, you can transform a forgotten basket into a charming storage solution. Start by giving the basket a makeover! Unleash your inner artist and paint it in vibrant colors that match your child’s room decor. Feeling crafty? Cut out fun shapes from colorful fabric scraps and use fabric glue to create a unique collage. Stickers are another quick and easy way to add personality. Once your masterpiece is complete, decide on its placement. Mount sturdy hooks on the wall and hang the basket for a whimsical display. Alternatively, find a sturdy shelf and let the basket become a cozy nook for smaller plushies to snuggle in.
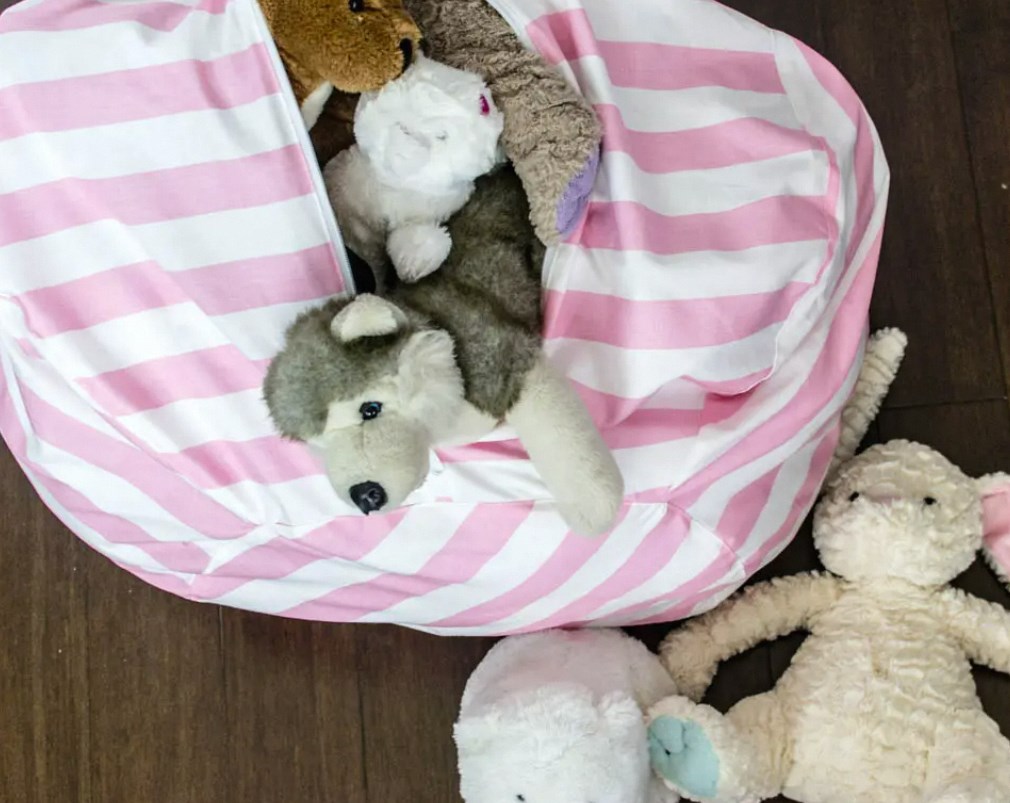
With a little creativity, you can transform your child’s room into a haven for their cuddly companions. These DIY hammocks and storage solutions are not only functional but also a fun way to add a personal touch to their space. So grab your materials, unleash your imagination, and get ready to see your child’s face light up with these delightful creations!